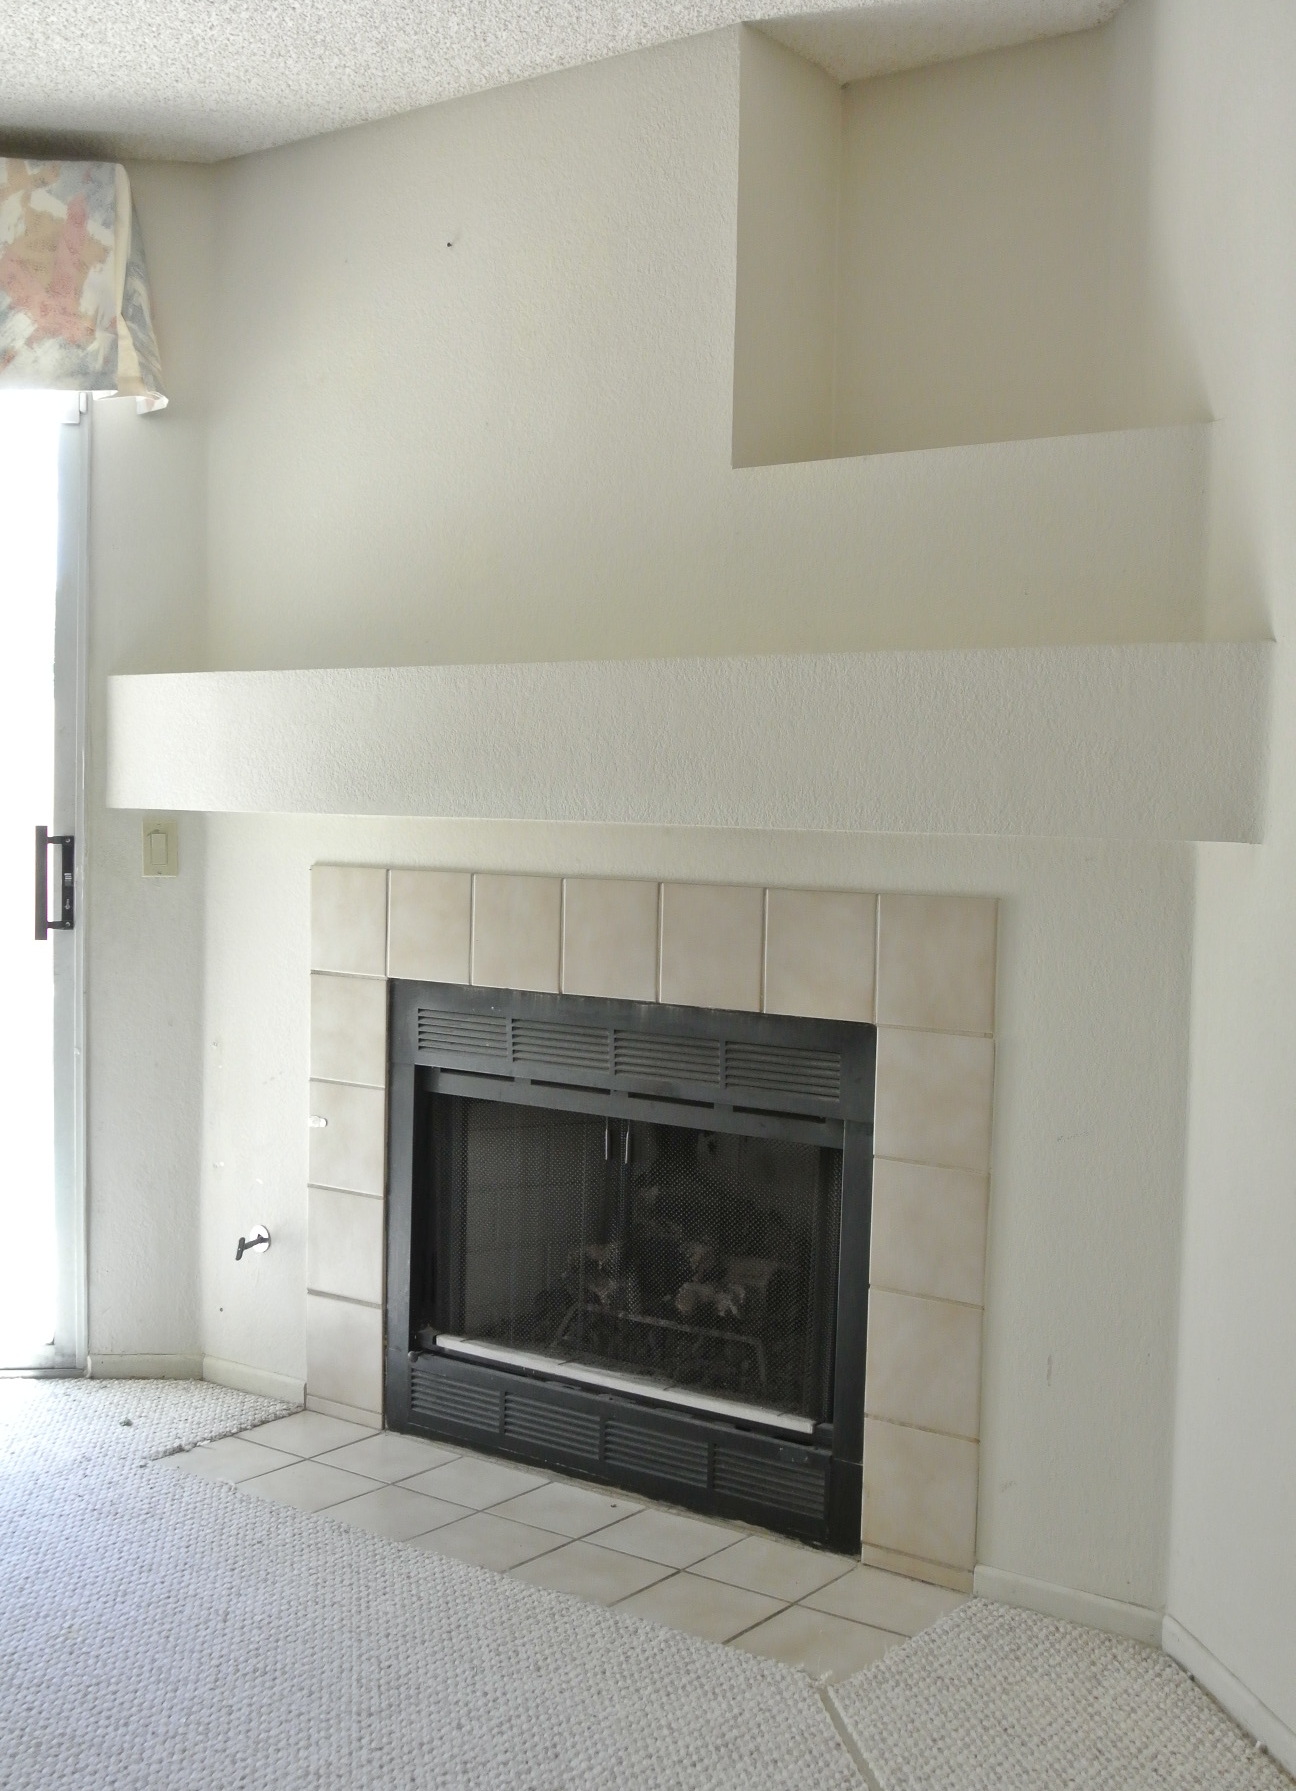
Tile on Drywall Fireplace

99+ Best Modern Ideas of Living Room with Fireplace Fireplace design, Fireplace remodel

So many people ask us about our new fireplace. It’s simply a 2 inch drywall bump out and a faux

How to Tile a Fireplace (even if it’s brick!) – The Handyman’s Daughter

How To Install Stacked Stone Tile on Drywall Fireplace pictures, Stacked stone fireplaces

I noticed that the drywall behind the tile did not really sit flush with the face of the

Simple clean white fireplace surround with polished black tile and drywall shadow box. #

How To Install Stacked Stone Tile on Drywall Manufactured stone fireplace, Stone fireplace

Grey stone modern fireplace – Home Decor Modern fireplace, Contemporary fireplace designs

Image result for drywall over rock fireplace Farmhouse fireplace mantels, Home fireplace

DIY Fireplace Makeover Centsational Style
Marble Fireplace Makeover Centsational Style

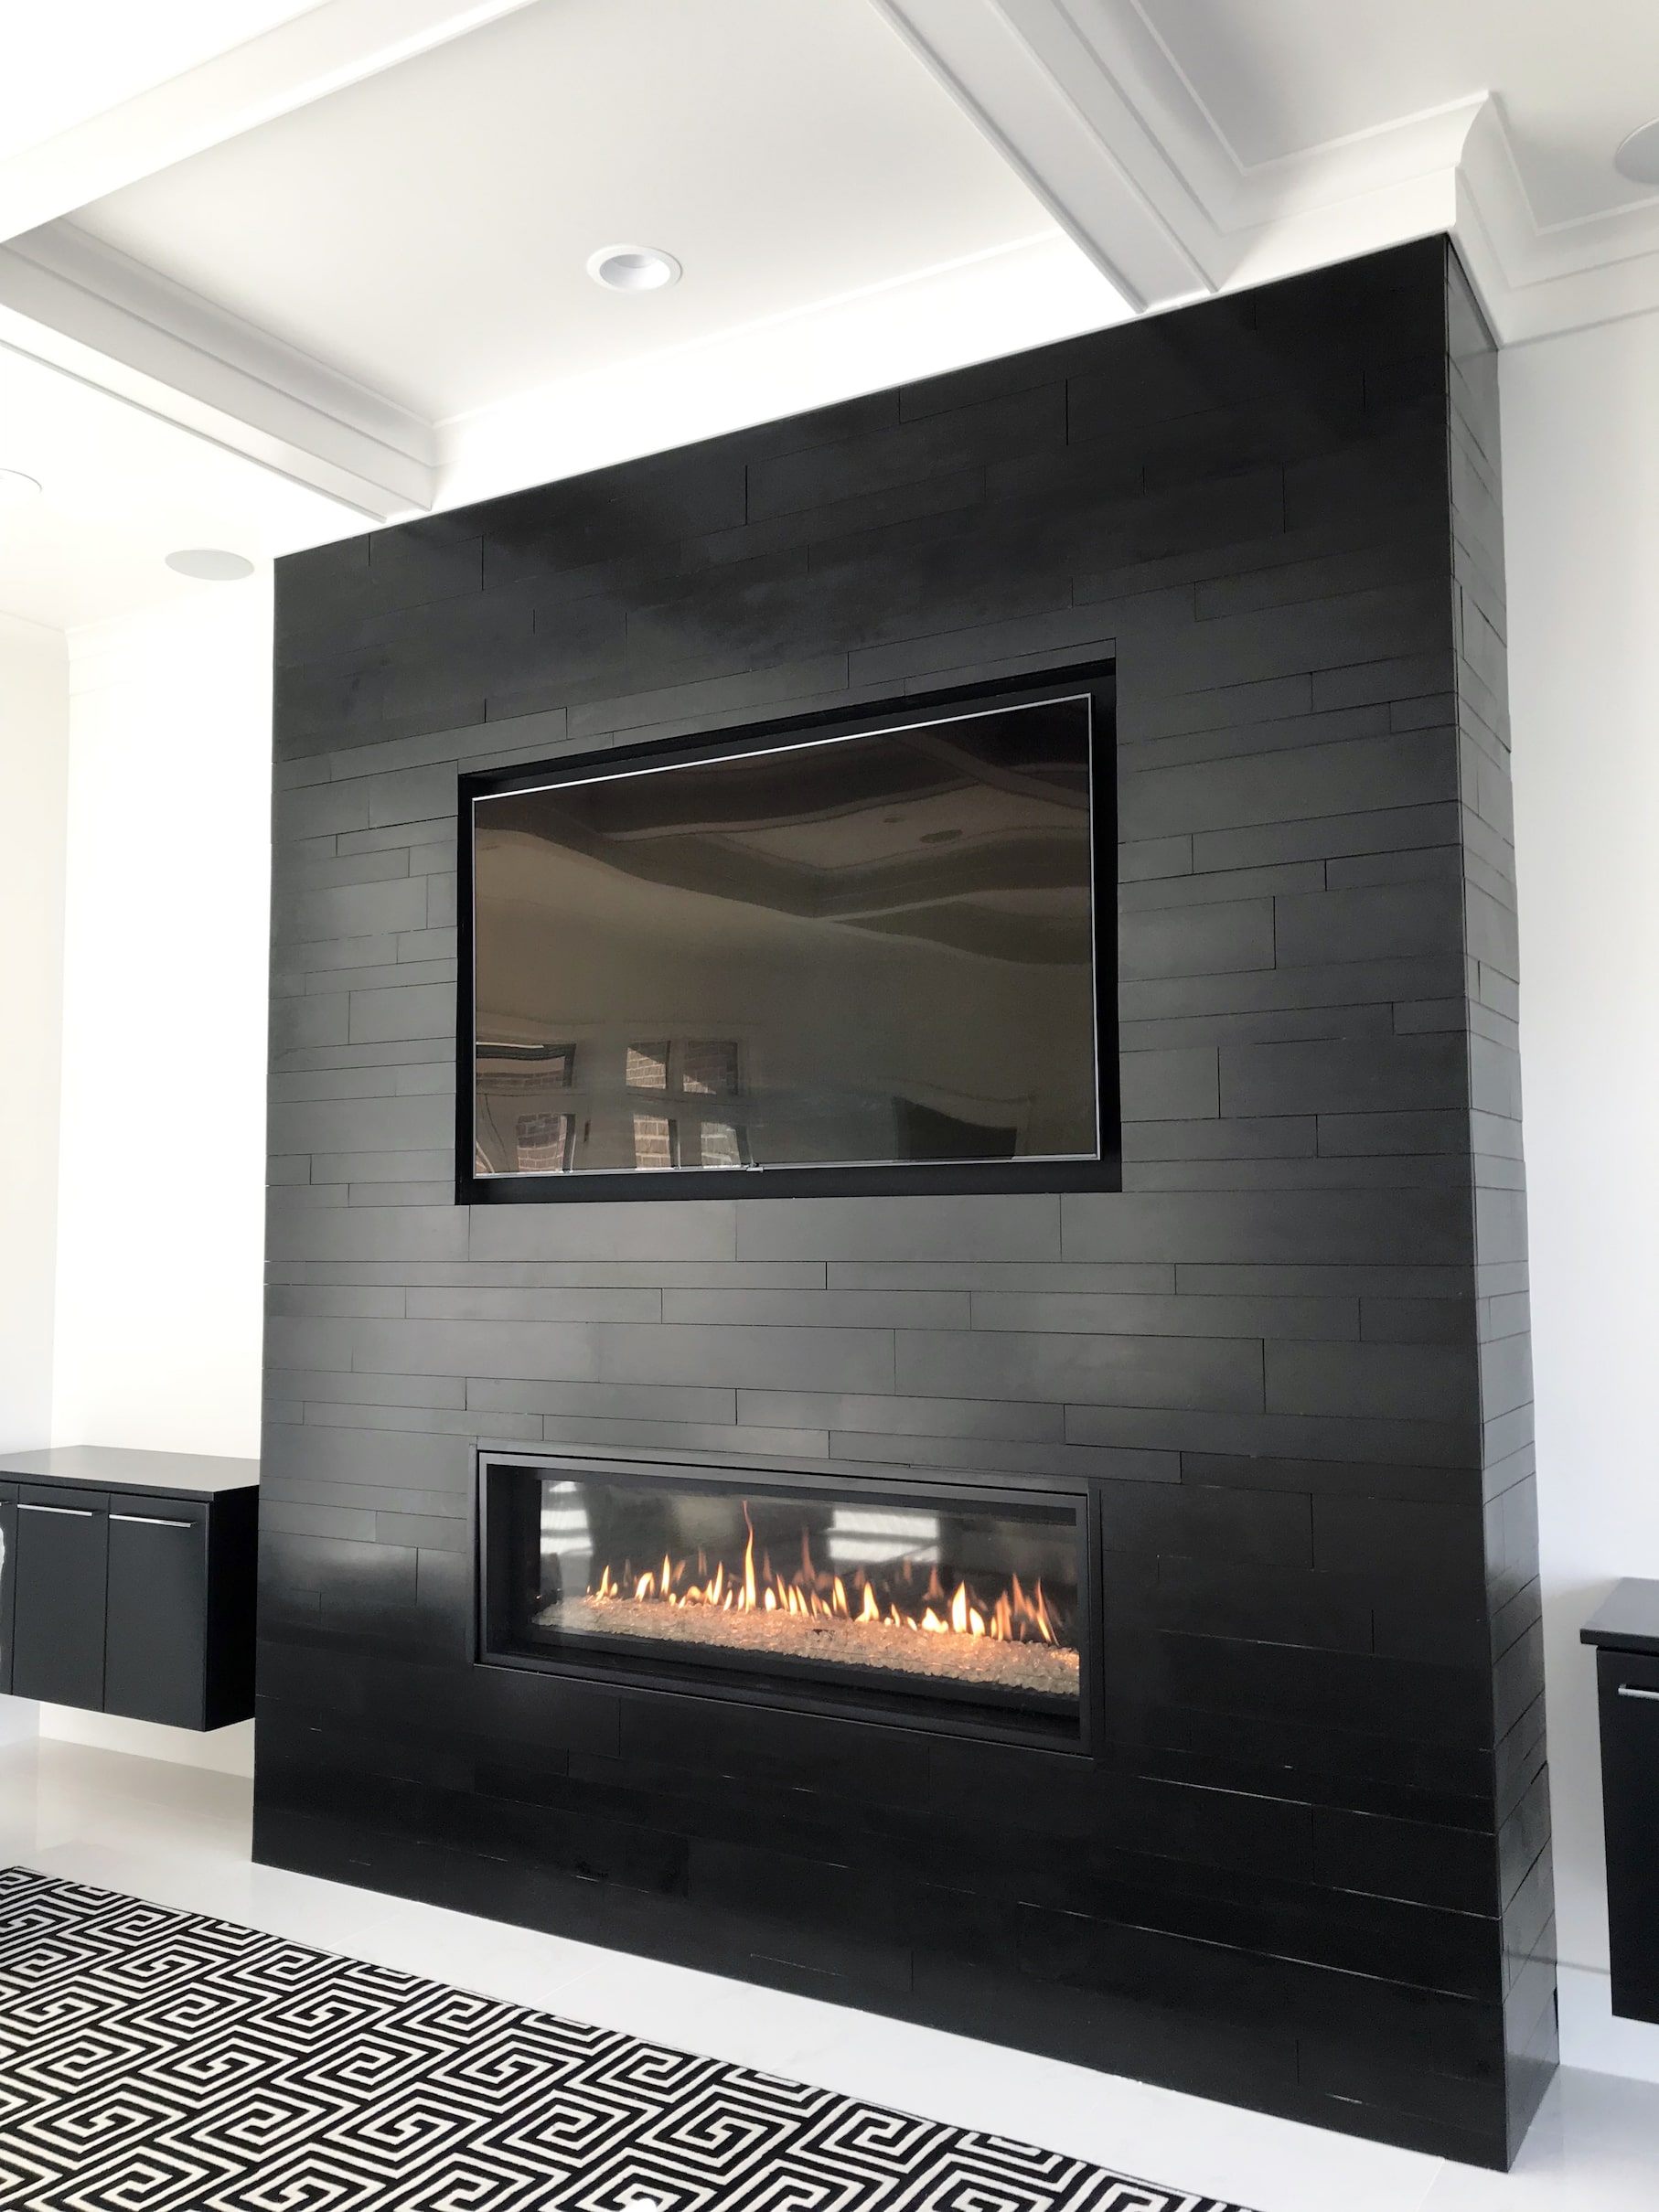
Ebony Planc Large Format Tile Modern Fireplace
White geometric pattern marble tile fireplace update with gold mirror above mantle Fireplace

Related Posts:
- Stone Tile Backsplash for Fireplace
- Painting Ceramic Tile Fireplace Hearth
- Fireplace Finishes Tile
- Stone Tile Fireplace Fronts
- Best Tile for Fireplace
- Tile on Drywall Fireplace
- Update Brick Fireplace with Tile
- Update Brick Fireplace with Tile
- Backsplash Tile Around Fireplace
- How to Tile Over Brick Fireplace Hearth
Installing tile on drywall around a fireplace can transform the look of a room and add a beautiful focal point to the space. It can create a sleek and modern aesthetic or add a classic touch with traditional ceramic or stone tiles. However, there are some important considerations to keep in mind when installing tile on drywall around a fireplace to ensure a successful and long-lasting result.
Benefits of Tile on Drywall Fireplace
One of the main benefits of installing tile on drywall around a fireplace is the added visual appeal it brings to the room. Whether you choose a bold and colorful mosaic pattern or a simple subway tile design, the tile can enhance the overall look of the fireplace and create a stunning focal point in the room. Additionally, tile is easy to clean and maintain, making it a practical choice for a high-traffic area like a fireplace.
Another benefit of using tile on drywall around a fireplace is its durability. Tile is resistant to heat and flames, making it a safe option for use near a fireplace. It is also scratch-resistant and less susceptible to damage from everyday wear and tear compared to other materials like wood or drywall. This durability ensures that your tiled fireplace surround will continue to look great for years to come.
Pros and Cons of Tile on Drywall Fireplace
One advantage of installing tile on drywall around a fireplace is that it can be a relatively affordable way to update the look of your fireplace without completely replacing it. Tiling over existing drywall is often less expensive than installing a new mantel or entirely redesigning the fireplace surround. Additionally, there are countless tile options available in various styles, colors, and materials, giving you plenty of choices to customize the look of your fireplace.
However, there are also some drawbacks to consider when installing tile on drywall around a fireplace. One potential downside is that moisture from the mortar used during installation can seep into the drywall behind the tile, causing damage over time. To prevent this, it is important to properly seal and waterproof the drywall before tiling. Additionally, if you choose heavy or large tiles, the weight could cause stress on the drywall, leading to cracking or warping over time.
Preparation for Tiling on Drywall Fireplace
Before starting the tiling process, it is essential to prepare the drywall surface properly. Begin by removing any existing paint or wallpaper from the area where you plan to install the tile. Next, repair any cracks or holes in the drywall using spackling compound and sand down any rough edges. Once the surface is smooth and even, apply a coat of primer to seal and protect the drywall before tiling.
After priming the surface, measure and mark out the layout for your tiles using chalk lines or a straightedge. It is crucial to plan out your design carefully before starting to ensure that your tiles will fit properly around corners and edges. Once you have laid out your design, mix your mortar according to manufacturer instructions and begin applying it to small sections at a time using a notched trowel.
Grouting and Sealing
Once your tiles are set in place and the mortar has dried according to manufacturer guidelines, it is time to grout the joints between each tile. Mix your grout according to package instructions and apply it evenly across all joints using a grout float or rubber squeegee. Be sure to remove any excess grout from the surface of the tiles using a damp sponge before it dries completely.
After allowing the grout to set for at least 24 hours, seal both the grout lines and tiles with an appropriate sealer. Sealing helps protect your tiles from staining and moisture damage while also making them easier to clean in the future. Be sure to follow manufacturer recommendations for sealing products and application methods for best results.
Common Mistakes to Avoid
1. Not properly preparing the drywall surface before tiling can lead to adhesion issues and long-term damage.
2. Using too much water when mixing mortar or grout can weaken their strength and cause uneven drying.
3. Rushing through the installation process without allowing proper drying times for mortar, grout, and sealant can compromise your finished result.
4. Neglecting regular maintenance such as cleaning and resealing can cause deterioration over time.
FAQs:
Q: Can I install tile directly onto unfinished drywall?
A: No, it is essential to prime and seal drywall before tiling to prevent moisture damage and ensure proper adhesion.
Q: Are there specific types of tile that work best around fireplaces?
A: Heat-resistant materials such as porcelain or natural stone are ideal choices for use near fireplaces due to their durability.
Q: How do I choose between different grout colors for my tiled fireplace surround?
A: Consider matching grout color closely with your chosen tile color for a seamless look or choosing contrasting colors for added visual interest.
Q: How often should I reseal my tiled fireplace surround?
A: It is recommended to reseal tiles every 1-2 years depending on usage and exposure levels.
In summary, installing tile on drywall around a fireplace can be an excellent way to enhance both the aesthetic appeal and durability of your living space if done correctly. By following proper preparation techniques, selecting high-quality materials, paying attention during installation, and maintaining regular upkeep, you can achieve a beautiful tiled fireplace surround that will stand the test of time while adding value to your home. Remember to consult with professionals if you are unsure about any part of the installation process or have specific concerns about your fireplace. With proper planning and attention to detail, you can create a stunning tiled fireplace surround that will elevate the look and feel of your space for years to come. Additionally, it is crucial to consider safety when installing tile around a fireplace. Make sure that all materials used are heat-resistant and suitable for use near a fire. Keep flammable materials away from the fireplace to prevent accidents. It is also important to follow all local building codes and regulations when working on your fireplace surround.
In conclusion, installing tile on drywall around a fireplace can be a fantastic way to update and enhance the look of your space. With proper preparation, installation, and maintenance, you can create a beautiful and durable tiled fireplace surround that will be a focal point in your home for years to come. By avoiding common mistakes and taking necessary precautions, you can achieve a stunning result that adds value and style to your living space.